
Gallery Walk: 7 ESL Techniques That Work
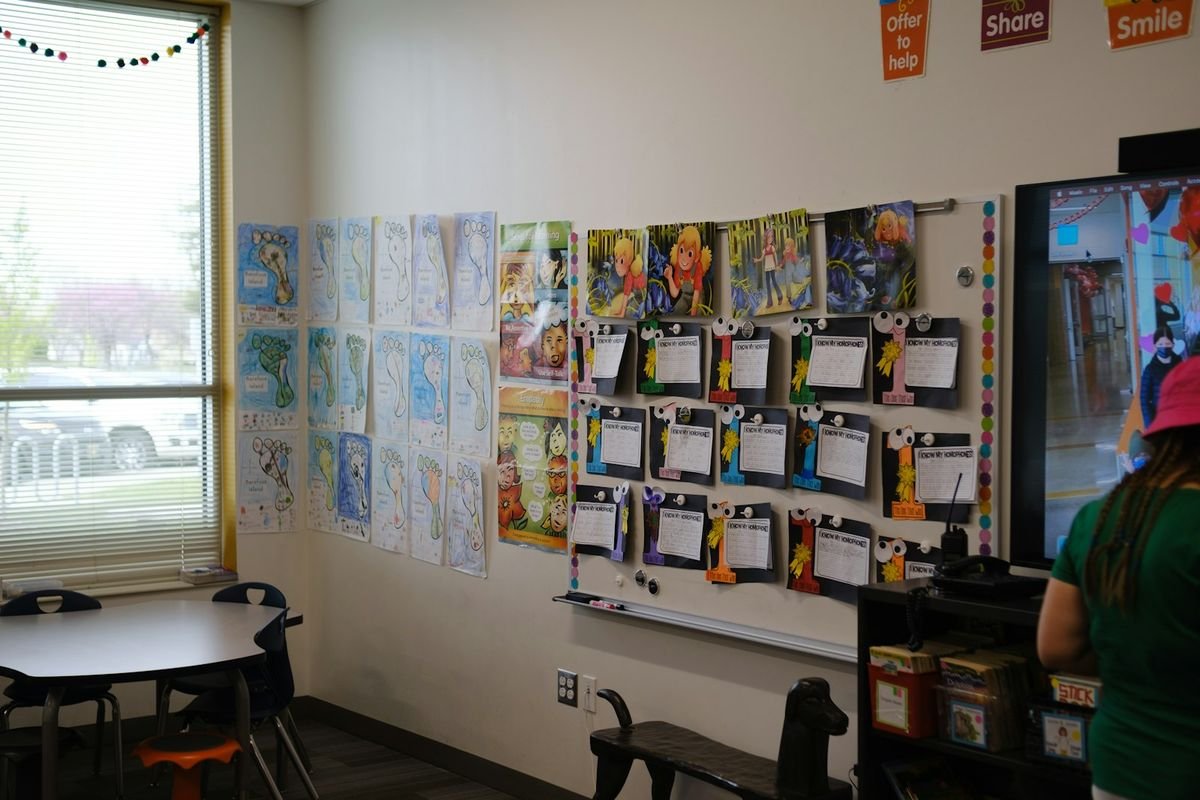
Twenty-six students in a mixed-level ESL class at a language center in Taichung once spent 35 minutes shuffling through six paper stations taped to the walls, writing on sticky notes, correcting a partner’s sentence, and arguing quietly about whether a photo showed “affect” or “effect.” The teacher said almost nothing for the entire period. That’s the appeal of a gallery walk: it shifts the talking burden from the teacher to the room.
The strategy isn’t new — it’s borrowed from museum education and adapted for classrooms decades ago — but most ESL teachers only know the version where students look at posters and write a few words. That’s one version out of at least seven, and the other six solve different classroom problems: shy speakers, grammar induction, error correction, pre-teaching background knowledge. Below are seven variations worth running, plus what actually goes wrong when teachers try them for the first time.
What Makes a Gallery Walk Different From a Regular Group Activity
A gallery walk separates the room into fixed stations — usually four to eight — each holding a different prompt, image, sentence, or task. Students move through the stations in small groups on a timer, respond at each stop, then rotate. That physical movement is the entire point. Students who never volunteer in a whole-class discussion will write a sentence on a poster or mutter an answer to their group when nobody’s watching them do it in front of thirty peers.
The tradeoff is setup time. A gallery walk needs printed or written stations ready before class starts, which is more prep than “open your textbook to page 40.” Skip the prep and the activity turns into six minutes of confused wandering. Every technique below assumes you’ve built the stations in advance and posted clear instructions at each one — the Collaborative for Teaching and Learning’s breakdown of the strategy lists the same five setup stages regardless of which variation you run.
If your class genuinely can’t move around the room — a shared space, a tiny classroom, furniture that doesn’t budge — فکر کنید-دو نفره-به اشتراک بگذارید gets you a similar low-pressure speaking structure without the stations.
1. Vocabulary and Word Wall Gallery Walk
Post 6-8 target vocabulary words around the room, each on its own sheet with space underneath. Students rotate in pairs, and at each word they write one original sentence using it — not a definition, a sentence. By the time a group hits the last station, they’ve read seven sentences other pairs wrote for the same word, which does more for retention than a single teacher example ever does.
The failure mode here is letting students copy the sentence above theirs instead of writing something new. Set a hard rule before starting: no repeating a sentence structure that’s already on the page. It forces the third and fourth groups at each station to actually think instead of paraphrasing.

2. Silent Discussion Gallery
Post a written prompt or a controversial statement at each station — “Homework should be banned,” “Social media makes students worse writers” — and students respond only in writing, silently, for the entire rotation. No talking, no reading their group’s response aloud. They read what previous groups wrote and reply to it in the margin.
This is the version to run with a quiet or exam-anxious class. Removing spoken output takes the pressure off students who freeze when asked to speak in front of peers, and the written record means you can grade participation afterward instead of trying to track who spoke during a live discussion. It’s also the fastest way to surface opinions that a whole-class conversation would never get, because nobody has to say something unpopular out loud. If you already use exit tickets to check quiet students’ understanding, the written record from a silent gallery works the same way — you get a paper trail of thinking you’d otherwise never see.

3. Error-Hunt and Peer Revision Gallery
Take six anonymous student paragraphs from a recent writing assignment, post them around the room, and have groups rotate with a red pen — or a specific colored marker per group — hunting for one error type per station: subject-verb agreement at station one, article errors at station two, run-ons at station three. Groups mark what they find but don’t fix it; that’s for the writer to do afterward.
Anonymity is the part teachers skip and regret. If a student recognizes their own paragraph getting marked up by four different groups, they shut down instead of learning from it. Retype the paragraphs in a uniform font before posting, and tell students up front that names are never attached. One more thing worth deciding in advance: require every mark to be signed by the group that made it, so a wrong correction can be traced back and discussed rather than left as an anonymous red scribble nobody can question.
4. Visual and Text Comparison Gallery
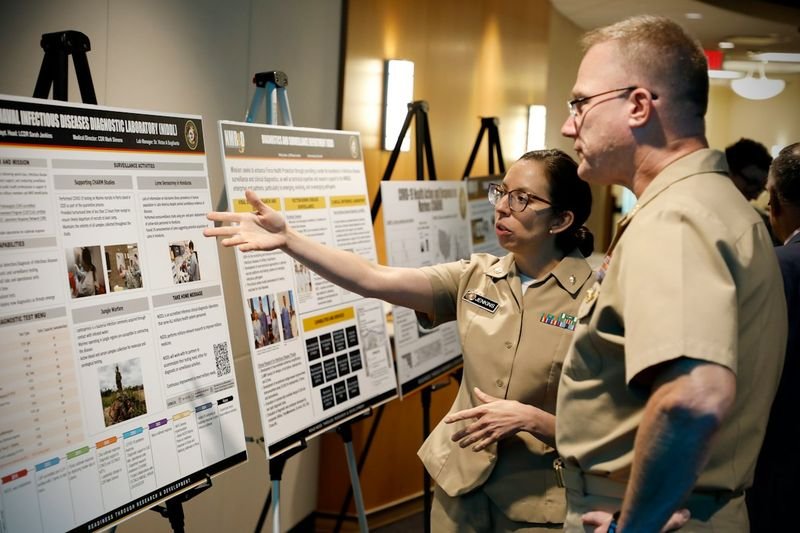
Post pairs of images or short texts that share a theme but differ in some meaningful way — two news headlines about the same event from different outlets, two ads for competing products, two illustrations of the same scene from different eras. At each station, students write or discuss what changed and why it might matter.
This version does the most for higher-level classes because comparison forces analytical language — “unlike,” “in contrast,” “whereas” — that a straight description prompt never pulls out of students. Lower-level classes can still run it with simpler pairs (two weather photos, two menus) and sentence frames taped underneath each image.
5. Task Card Rotation Gallery
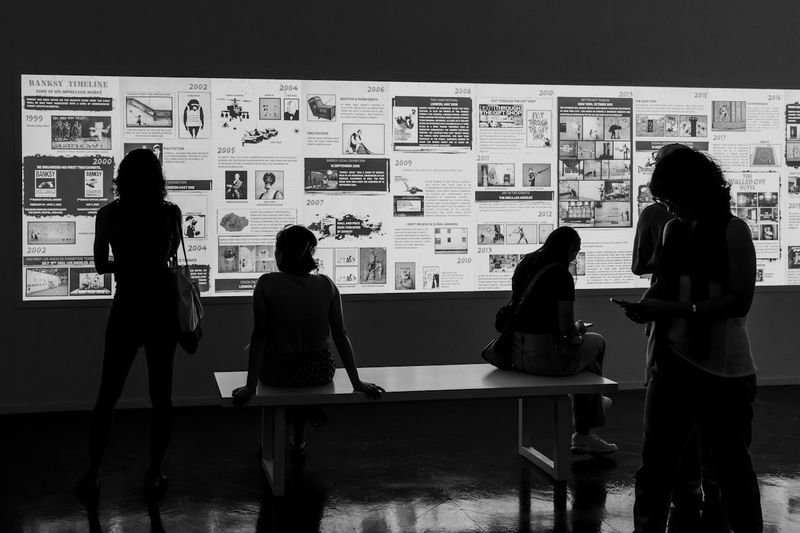
Instead of open-ended prompts, each station holds a stack of task cards testing one specific skill — verb tense, prepositions, question formation — and groups work through three or four cards before rotating. This is the closest gallery walk gets to a worksheet, except students never sit still doing it.
The trick experienced teachers use here is stacking the deck: put slightly harder cards at the bottom of each stack without announcing it — this differentiation approach shows up in language arts classrooms too, where teachers place graded task cards at stations without students recognizing the split. A group that finishes fast naturally works through the harder cards, while a group that’s still struggling never has to visibly “fail” at material the class saw them skip. Nobody notices the differentiation is happening. Pair this with any of the group structures from cooperative learning activities and the rotation runs itself once groups know their roles.
6. Inquiry-Based Grammar Gallery
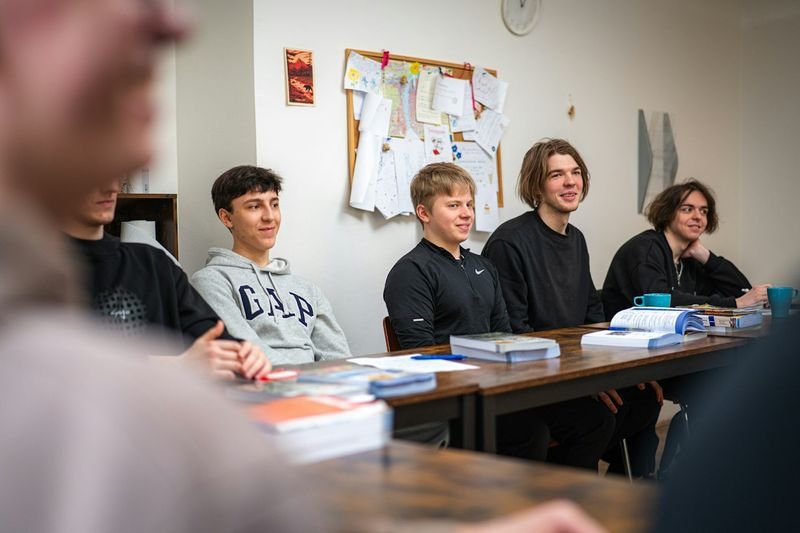
Post 5-6 example sentences at each station that all follow the same grammar pattern, but don’t name the rule. Students study the examples in their group and write their best guess at the rule before moving on — first conditional, comparative adjectives, reported speech, whatever the target structure is. Only after every group has attempted a rule do you reveal the actual explanation.
Students remember a rule they worked out themselves far longer than one you handed them on a slide. This version takes longer to set up and run than the others — plan closer to 40 minutes than 20 — but it replaces an entire grammar lecture, and the wrong guesses students make along the way are usually more instructive than the correct answer, because you can address the exact misconception in the debrief instead of guessing what might confuse them.

7. Pre-Teaching and Background Context Gallery
Before starting a reading or unit that needs background knowledge — a historical event, a cultural reference, a scientific concept — split that context into 5-6 chunks and post each one at a station instead of front-loading it in a single lecture. Students absorb the background in smaller, less overwhelming pieces, and the movement between stations keeps energy up for what would otherwise be the driest ten minutes of the lesson.
This replaces the “here’s some vocabulary and context before we read” slide deck that loses half a class by minute three. It works especially well before literature units or news-based reading lessons where students need cultural or historical grounding they don’t have yet.

Setting Up Your First Gallery Walk Without It Falling Apart
Every version above shares three setup rules. First, cap groups at three or four students — pairs work for silent discussion, but anything larger than four at a station means someone stands at the back doing nothing. Second, time each rotation with a visible countdown (60-90 seconds per station for quick tasks, 3-4 minutes for inquiry-based ones) and announce moves out loud so nobody gets stuck reading one poster for the whole period. Third, always run a debrief. A gallery walk without five minutes of whole-class wrap-up at the end is just students wandering with paper — the debrief is where the individual station responses turn into a shared understanding.
One classroom-management detail that trips up first-timers: decide the walking direction before you start. Clockwise, numbered stations, whatever — without a fixed route, half the room bunches up at station one while station four sits empty.
Most teachers run one gallery walk, like it, and then reuse the same vocabulary version for the rest of the term because it’s the easiest to set up. That’s leaving five other versions on the table. Silent discussion alone is worth building into a rotation — it’s the only speaking-adjacent activity that gives your quietest students full participation credit without asking them to speak out loud, and pairing it with the error-hunt version a week later covers both confidence and accuracy in the same month. Pick two you haven’t tried and build the stations for next week’s lesson before this one leaves your head.
منابع
- Gallery Walk — Collaborative for Teaching and Learning — core process steps and ESL scaffolding supports by proficiency level.
- 6 Great Ways to Use Gallery Walks in Language Arts — variations including peer revision walks and silent discussion galleries.
- Gallery Walk — Wikipedia — background on the strategy’s origin and general classroom use.






 FA
FA  EN
EN  ZH
ZH  ZH_CN
ZH_CN  KO
KO  VI
VI  FR
FR  AR
AR  ES
ES  HI
HI  PT
PT  BN
BN  RU
RU  JA
JA  TR
TR  DE
DE  IT
IT  PL
PL  ID
ID  TH
TH  UK
UK  TL
TL  HE
HE  UR
UR  SW
SW  RO
RO  NL
NL  MS
MS  TA
TA  PS
PS  HU
HU  EL
EL  SV
SV  NB
NB  NN
NN  DA
DA  CS
CS  SR
SR  AM
AM