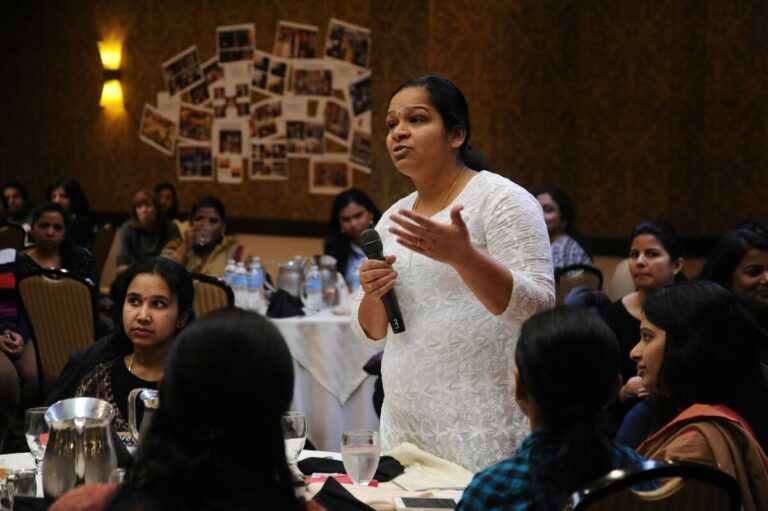
Scaffolding in Teaching: 8 Essential Strategies (2026)
A first-year teacher hands out a 500-word essay prompt and watches half the class freeze. A second teacher hands out the same prompt — but with a sentence starter, one model paragraph, and a five-minute pair discussion first. Nearly everyone starts writing. Same task, same students, completely different outcome. That difference is scaffolding. The term comes from a 1976 study by Wood, Bruner, and Ross, who borrowed the image of a builder’s scaffold: a temporary frame that holds weight while something is being built, then comes down once the structure stands on its own. This guide covers what scaffolding in teaching actually looks like, the theory underneath it, and eight strategies you can use in your next lesson.
What Is Scaffolding in Teaching?
Scaffolding in teaching is the temporary support a teacher gives so a student can complete a task they couldn’t yet do alone — and that support is designed to be removed. The key word is temporary. A worksheet that comes with a word bank every single time isn’t scaffolding; it’s a permanent crutch. Real scaffolding has a built-in expiry date. You model, you guide, you prompt, and then you step back so the learner carries more of the load each time.
Think of three phases that teachers often shorthand as “I do, we do, you do.” First the teacher demonstrates. Then teacher and students work through a similar example together. Finally students try it independently while the teacher circulates. The support shrinks at each stage. A good lesson plan bakes this fade-out in from the start rather than improvising it on the fly — which is why ईएसएल पाठ योजना and scaffolding are really two sides of the same craft.

The Zone of Proximal Development Behind It
You can’t talk about scaffolding for long before Lev Vygotsky shows up. His निकटवर्ती विकास का क्षेत्र (ZPD) describes three bands of difficulty for any learner: what they can do alone, what they can do with help, and what they can’t do yet even with help. Scaffolding lives entirely in that middle band. Teach below it and students are bored. Teach above it and they shut down. Aim at the ZPD and you hit the sweet spot where a learner is stretched but not drowning.
The practical lesson here is humbling: the right amount of support changes per student and per task. A grammar point that needs heavy scaffolding for one class might need almost none for another. Vygotsky’s insight wasn’t “help students more” — it was “help students at the exact edge of what they can manage, then move the edge.” That edge moves every week, which is why scaffolding is a moving target, not a fixed recipe.
Scaffolding vs. Differentiation: What’s the Difference?
Teachers mix these up constantly, and the distinction matters. Differentiation changes क्या you give different students — a shorter text for one group, an extension task for another. Scaffolding changes कैसे you support students toward the same goal. With differentiation, two learners might read different books. With scaffolding, they read the same book, but one gets a vocabulary preview and a guiding question while the other reads straight through.
Put simply: differentiation adjusts the destination or the route; scaffolding hands out the climbing gear and then collects it back. The two work together beautifully, but treating scaffolding as “just giving the weaker kids easier work” misses the point. The aim is to get every student to the same standard — temporary help is how you get them there, not a reason to lower the bar.
8 Scaffolding Strategies That Actually Work
The strategies below run from the start of a lesson to the moment you let go. You won’t use all eight in one lesson — pick the two or three that match where your students are stuck.
1. Model it first with a think-aloud
Before students attempt anything, show them the finished thinking, not just the finished product. Solve the problem on the board while narrating every decision out loud: “I’m underlining the question word first, because that tells me what kind of answer I need.” A silent worked example shows the क्या; a think-aloud shows the कैसे. Students copy the reasoning, not just the result.

2. Activate prior knowledge
New learning sticks to old learning. Before a reading on climate, ask what students already know about weather where they live. This isn’t a warm-up for its own sake — it gives students a hook to hang new information on, which lowers the cognitive load of the main task. Two minutes of “what do you already know about this?” can do more than ten minutes of pre-teaching.
3. Use worked examples and writing frames
A writing frame is a partially built sentence or paragraph: “One reason I agree is ______. For example, ______.” Students fill the gaps instead of facing a blank page. The frame carries the structure so the learner can spend their attention on the ideas. As students gain confidence, you remove the frame piece by piece — first the connectors stay, then they go too.

4. Pre-teach the vocabulary that blocks the task
If five words in a text will stop students cold, teach those five before they read — not all twenty new words, just the ones that gate comprehension. Front-loading the right vocabulary is one of the highest-return moves in language teaching, and it pairs naturally with the broader vocabulary teaching strategies you already use. The trick is choosing the blocking words, not every unfamiliar one.
5. Ask scaffolded questions instead of giving answers
When a student is stuck, the lazy move is to hand over the answer. The scaffolding move is to ask a question that narrows the gap: “What did the character want at the start?” then “And did she get it?” then “So how does she feel now?” Each question is a rung. This is the heart of अभिव्यक्त भाषा शिक्षण — the student does the thinking, you just shape the path.

6. Hand out graphic organizers and visual aids
A Venn diagram, a timeline, a story map, or a simple T-chart turns an abstract task into a visible one. For a compare-and-contrast essay, a two-column organizer does half the planning before a single sentence is written. Visuals are especially powerful for English learners, who can show understanding on an organizer before they have the language to write it in full prose.
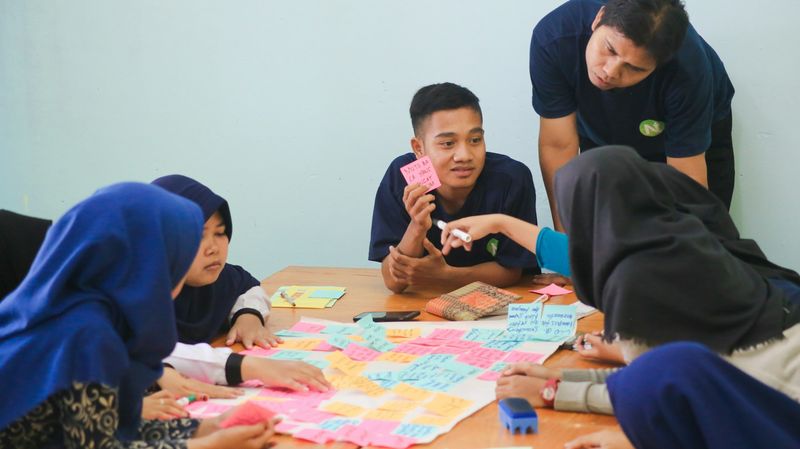
7. Use peer scaffolding and structured group work
Students often explain things to each other in language a teacher can’t reach. Pair a learner who just grasped a concept with one still working on it, and both gain — the explainer cements the idea, the listener gets a peer-level model. The catch is structure. “Work together” produces chaos; “Partner A explains step one, Partner B explains step two, then you swap” produces learning.
8. Fade the support on purpose
This is the strategy most teachers skip, and skipping it is what turns help into dependence. Plan how each support comes off. The word bank shrinks from fifteen words to five to zero. The sentence starter disappears next week. The think-aloud becomes a silent demo, then nothing. If a scaffold is still in place at the end of a unit, ask yourself whether students have actually learned the skill or just learned to lean on the scaffold.

The video below from Edutopia walks through five of these moves in a real classroom — worth four minutes if you want to see the fade-out in action.
Types of Scaffolding in the Classroom
Researchers usually sort scaffolding into three rough categories, and naming them helps you spot which kind a lesson is short on. Sensory scaffolds are the things students see, hear, and touch — pictures, realia, gestures, video. Graphic scaffolds organize thinking on the page: charts, timelines, mind maps, sentence frames. Interactive scaffolds come from people — teacher questioning, peer discussion, group roles.
A common pattern in weak lessons is leaning on one type and ignoring the others. A teacher might pile on graphic organizers but never model out loud, or talk through everything verbally while giving nothing visual to anchor it. The stronger lessons mix at least two types so that students who learn differently all get a handhold. You don’t need every category every day — you need to notice when a tough task is offering students nothing to grab.
A Scaffolding Example From Start to Finish
Here’s how the pieces fit in one lesson. The goal: students write a paragraph giving an opinion with a reason. Step one, the teacher writes a model paragraph on the board and thinks aloud through the choices. Step two, the class builds a second paragraph together, with the teacher prompting — “what’s our reason here?” Step three, students get a frame with two sentence starters and write in pairs. Step four, they write a third paragraph alone with no frame at all.
By the end of one lesson the support has dropped from “teacher does it” to “student does it alone,” and the visible scaffold — the frame — is gone. That arc is the whole game. Notice that good corrective feedback rides alongside it: the teacher’s comments during guided practice are themselves a scaffold, nudging without taking over the pen.

Common Scaffolding Mistakes to Avoid
The most expensive mistake is never removing the support — the “permanent crutch” problem. If your strongest students still get the same word bank in June that they got in September, you’ve scaffolded them into dependence. The whole design depends on the help coming off.
The second mistake is over-scaffolding from fear. When a task feels hard, the instinct is to add support until the difficulty disappears — but a task with no struggle left in it teaches nothing. Productive struggle is the point; scaffolding manages it, not eliminates it. The third mistake is scaffolding the wrong thing: pre-teaching twenty words when only four block the reading, or modeling the easy step while leaving the hard one unsupported. Watch where students actually get stuck, and put the scaffold there.
सूत्रों का कहना है
- Vygotsky’s Zone of Proximal Development and Scaffolding — Simply Psychology — overview of the ZPD theory underpinning scaffolding.
- 6 Scaffolding Strategies to Use With Your Students — Edutopia — classroom-tested scaffolding techniques for teachers.
- 5 Scaffolding Strategies to Bolster Student Learning — Edutopia (YouTube) — short video demonstration of scaffolding in a live classroom.