ESL Lesson Planning: 7 Steps to Lessons That Work (2026)
Pagpaplano ng aralin sa ESL is the single skill that separates teachers who hold a class and teachers who actually move students from one level to the next. A working plan answers three questions on one page: what learners will be able to do by the end of class, what language they need to do it, and how you’ll know they got there. Everything else — the warm-up, the slides, the cute Pinterest activity — is decoration unless those three answers are clear.
This guide walks through the 7-step framework I use after twenty years of teaching English in Taiwan. It works for kindergarten, conversation school adults, business English on Zoom, and one-shot demo classes for parents. By the end you’ll have a plan you can write in under fifteen minutes, plus a downloadable template you can print and reuse.
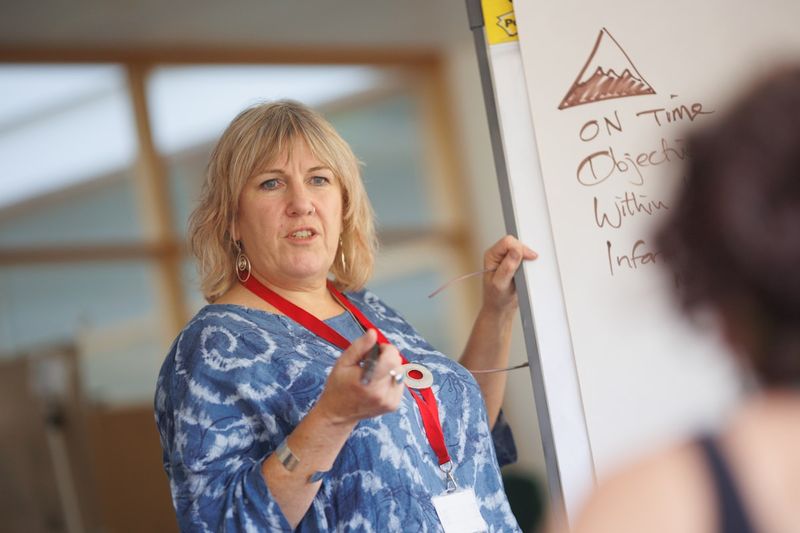
Step 1: Write the Lesson Objective Before Anything Else
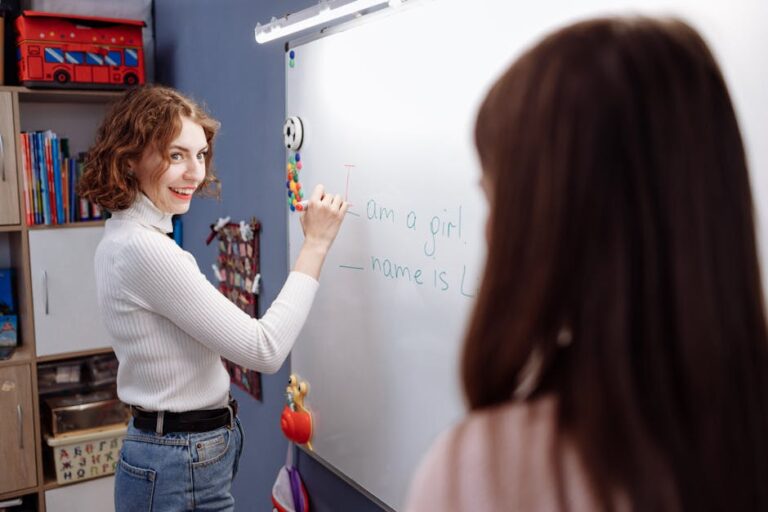
The objective is the one sentence that decides if the lesson worked. It must be observable, measurable, and tied to a real-world task. “Students will learn the past simple” is not an objective — it’s a topic. “Students will tell a partner three things they did last weekend using regular and irregular past simple verbs, with correct pronunciation of -ed endings” is an objective. You can watch it happen. You can score it.
The shortcut I teach new teachers in Taipei: finish the sentence “By the end of class, students will be able to ____.” If you can’t fill that blank with a verb a parent could observe, you don’t have a lesson yet — you have a unit topic. Common observable verbs that work for ESL: describe, compare, order, ask, answer, give directions, explain, role-play, write a short email. Avoid understand at know; you can’t see those happen.
One objective per lesson. Trying to teach past simple at question forms at time expressions in a 50-minute class is the most common mistake I see, and it’s why the back of the room goes quiet. Pick one. Teach it well. Save the rest for next week.
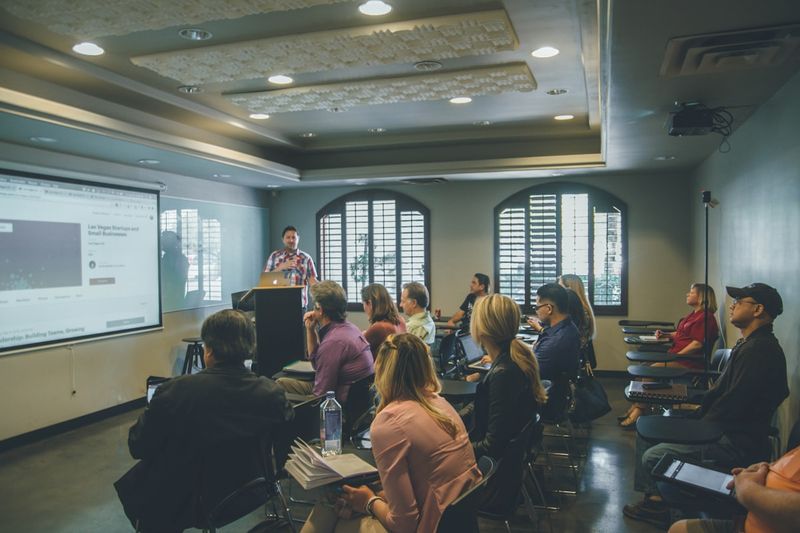
Step 2: Pick a Framework (PPP, ESA, or TBL)
Every ESL lesson plan sits inside a framework — a tested sequence of stages that takes learners from input to output. The three you’ll use 95% of the time are PPP, ESA, and TBL.
PPP (Presentation, Practice, Production) is the workhorse. You introduce target language, drill it under control, then release learners to use it freely. Great for grammar points, set phrases, and any lesson where the form is new. Full breakdown in the PPP lesson plan guide.
ESA (Engage, Study, Activate), popularized by Jeremy Harmer, swaps the rigid order for a more flexible loop. Engage hooks emotion first, Study isolates the language, Activate puts it to use. Stronger for mixed-level classes and teens who tune out a cold grammar opener.
TBL (Task-Based Learning) flips the script entirely: learners attempt a real task first, struggle, and only then do you surface the language they needed. Best for confident intermediate-plus groups and business English where the task ay the goal. See 7 task-based examples that work for ready-to-steal lessons.
Choose by audience, not by trend. Kids and absolute beginners: PPP. Mixed-ability teens: ESA. Working adults who need English for a Monday meeting: TBL.
Step 3: Design a Warm-Up That Actually Warms the Brain
The warm-up is not a time-filler while late students arrive. Its job is to activate prior knowledge so the new material has somewhere to attach. A good warm-up takes three to five minutes, recycles vocabulary students already half-know, and previews the target structure without naming it.
For a past simple lesson, that might be a quick “yesterday vs. today” board race where students sort time expressions. For a directions lesson, it’s a partner game where one student describes a route in their hometown. The warm-up should feel like a conversation, not a quiz. If learners are silent for the first two minutes, scrap it and rebuild — silence in the warm-up predicts silence for the whole hour.
Skip personal questions that single people out (“What did you do yesterday, Maria?”) unless you’ve built that trust. Group whips and partner exchanges keep the affective filter low. Stephen Krashen’s comprehensible input research is clear on this: anxious learners don’t acquire language, no matter how well-designed your slides are.
Step 4: Plan the Presentation Stage with Clear Models
This is where you introduce the target language. The cardinal rule: model before you explain. Drop the language into context first — a short dialogue, a comic strip, a photo with a caption — and let students notice the pattern before you formalize it. Inductive presentation sticks far better than a grammar lecture from minute one.
Build in two checks during this stage. First, concept-check questions to confirm meaning — see the full list of 12 ESL concept check questions for ready-made wording. Second, choral and individual drilling for form and pronunciation. Six to eight repetitions is the floor for a new chunk; more if learners struggle with a tricky sound like the English /θ/ in think versus /s/ in sink.
Teacher talk time matters here too. The British Council estimates effective ESL teachers speak about 30% of class time, not 70%. If you’re explaining for ten minutes straight, you’ve lost them. Cut your scripts. Use images. Let the language do the explaining.
Step 5: Build a Controlled-to-Free Practice Sequence
Most weak lessons fail right here — they jump from “here’s the grammar” straight to “now have a conversation.” Learners need an intermediate stage where the form is rehearsed under low pressure before they have to invent sentences in real time.

The sequence I plan for almost every lesson runs in three layers. Layer one is mechanical: gap-fills, sentence transformations, matching. Layer two is meaningful: information-gap pairs where the form is fixed but the content varies. Layer three is communicative: role-plays, opinion exchanges, mini-presentations where learners choose their own words.
Pace this with a rough 10/10/15 split inside a 50-minute hour. If you’re running out of time, cut layer one — learners can do mechanical drills as homework. Never cut layer three. That’s the only stage that proves the objective.
Worksheets are fine for layer one and two but they’re not the lesson. If your “plan” is a stack of photocopies, that’s a worksheet bundle, not a lesson plan. Activities should connect to one another and to the objective from step one.
Step 6: Plan the Production Stage as the Real Lesson
If steps one through five are scaffolding, the production stage is the building. This is where learners actually do the thing the objective promised — describe their weekend, give directions to the night market, role-play a job interview, write a short complaint email. It deserves the largest chunk of class time, not the leftover five minutes.

Design the task so it can’t be completed without the target language. A directions task where students can point and grunt isn’t a directions task. Add constraints: no pointing, must use three prepositions, partner has to draw the route on paper. The constraints force the form.
Plan instructions ahead of time and check them with instruction-checking questions before students start. A student who didn’t understand the task isn’t a student who failed to listen — they’re a student whose teacher under-planned the brief. ICQs in your plan, in writing, before class starts.
Production also needs a clear endpoint. Loose, open-ended “talk to your partner” tasks drag and die. Give a finish line: produce three sentences each, fill in this grid, present back to the class in two minutes. Endpoints create urgency, and urgency creates output.
Step 7: Build Review, Feedback, and Cool-Down Into Every Plan
The last five minutes are the most cut and the most valuable. A proper close has three pieces: a quick whole-class feedback round on language errors you noticed, a 60-second review of the target structure, and a closing task that previews next class.

For feedback, write three to five recurring errors on the board with no names attached and elicit the corrections from the class. Anonymous, low-stakes, peer-driven. This works far better than individual corrections during production, which interrupt flow and embarrass quieter learners.
The review beat is not “what did we learn today?” — that’s a vague question and you’ll get nothing. Instead: “Tell your partner one thing you did last weekend, using past simple.” Forty seconds. Move on. The closing task — a quick prediction question, a homework hook, a one-word exit ticket — gives shape to the hour and gives you data on who got it.
Plan all of this on the page, not in your head. New teachers improvise the close and run out of time; experienced teachers protect those five minutes like rent money.
Bonus: A Free ESL Lesson Plan Template (PPP)

Here’s the one-page template I print and clip to a manila folder for every class. Copy it into a notebook or a Google Doc and reuse.
- Objective: By end of class, Ss will be able to ____.
- Target language: Form, meaning, pronunciation focus.
- Materials: Slides, handouts, props, board pens.
- Warm-up (5 min): Activity + prompt.
- Presentation (10 min): Context → notice → CCQs → drill.
- Controlled practice (10 min): Mechanical → meaningful.
- Production (15 min): Task + constraints + ICQs.
- Review & feedback (5 min): Error board + closing task.
- Anticipated problems: Three things that could go wrong + fix for each.
That last line — anticipated problems — is what separates a beginner’s plan from a teacher’s plan. Before class starts, ask yourself: where will pronunciation break? Which step will my weakest student stall on? What if the projector dies? Write the fix on the plan. You’ll thank yourself in the moment.
Common ESL Lesson Planning Mistakes to Avoid
Three patterns trip up nearly every new ESL teacher in Taipei. The first is over-planning: cramming twelve activities into a 50-minute slot because each one looked fun on TeachersPayTeachers. Pick four. Do them well. Save the rest.
The second is under-planning the production stage. Teachers default to easy controlled drills because they feel productive, then run out of time before learners produce anything original. Reverse it. Plan production first, then back-fill the support.
The third is ignoring classroom management in the plan. If your seating arrangement isn’t on the page, your transition between pair work and feedback isn’t on the page, and your handout distribution plan isn’t on the page, those are the moments your lesson will fall apart. Management lives in the plan, not in the moment.
How Long Should an ESL Lesson Plan Be?
One page. Two at most if you’re new. Anything longer means you’re writing a script, not a plan, and you’ll spend class reading instead of teaching. The plan is a scaffold for you, not a document for inspection. Cut everything you can already do without writing down.
The exception is observed lessons or first lessons with a new group. Then the longer plan is justified — you’re documenting reasoning, not just running the class. For ordinary teaching, one page beats five every time.
Mga Pinagmumulan
- British Council — How much teacher talking time is too much? — Reference point for the ~30% TTT benchmark.
- Cambridge English — Planning Language Lessons — Framework comparison and observable-objective guidance.
- TESOL International Association — Professional standards for ESL/EFL lesson planning and methodology.